Ready to have your breakfast and snack woes come to an end? Enter oatmeal fingers! Oatmeal is a great food for babies, but when it comes to baby led weaning, we all know how messy that can be!
Oatmeal in finger shape helps minimize mess, creates a perfect travel snack when rushing out the door, and they only take a few minutes to make in the microwave. Not to mention they’re high in fiber, nutritionally dense, inexpensive, and contain iron. They’re basically the perfect breakfast for 6 month olds and up!
I was first introduced to oatmeal fingers about 4 years ago when one of my best friends from university came to visit me from across the country, and she blew my mind with what she called “eat your oatmeal anywhere” fingers. I was so confused at first, until she showed me the simple magic that could be created with a microwave and as few as two ingredients.
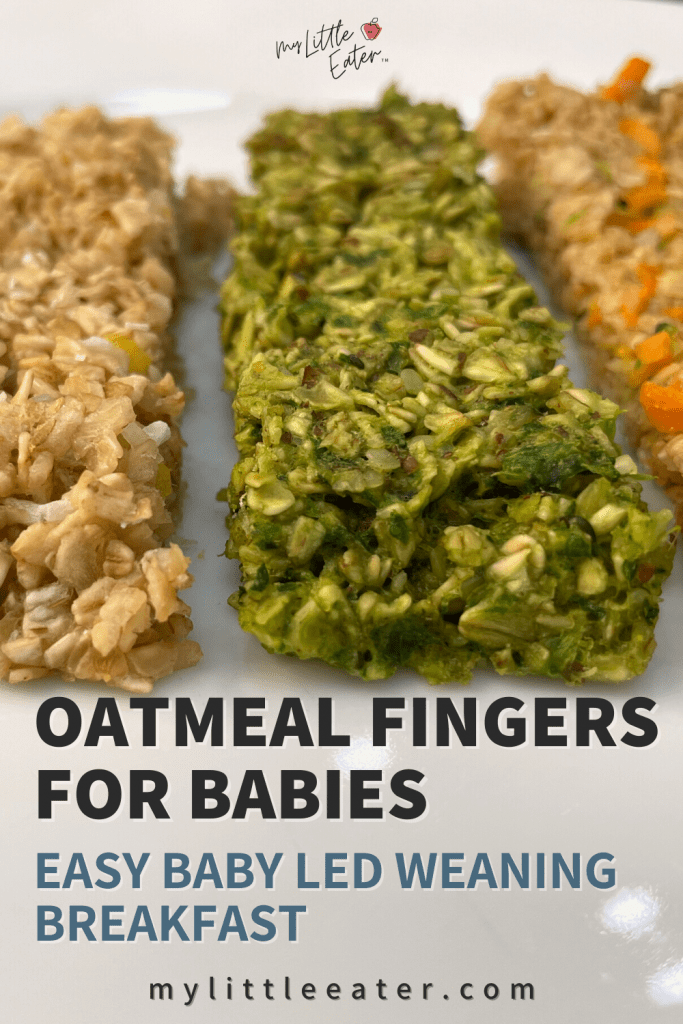
Basically, it’s rolled oats mixed with a liquid ingredient (be it dairy or almond milk, mashed banana, yogurt, etc.) so that the oats cook and bind to the liquid. And once set, they form these perfect little oatmeal fingers that can have endless variations, be eaten warm or cold, make great leftovers, and basically, can be taken anywhere.
Well, you can guess where my mind immediately went with these. All I could think of was “What a great way for baby led weaning babies to eat oatmeal without all the mess!”
Now, don’t get me wrong, if you know me, you know I LOVE messy food experiences for babies, and actually encourage it when possible. This helps them get really up close and personal with food using all five senses. That being said, you’re not always going to have time, or want, to get messy at every meal. Especially when you’re in a rush, too tired to clean it up, or out on the go.
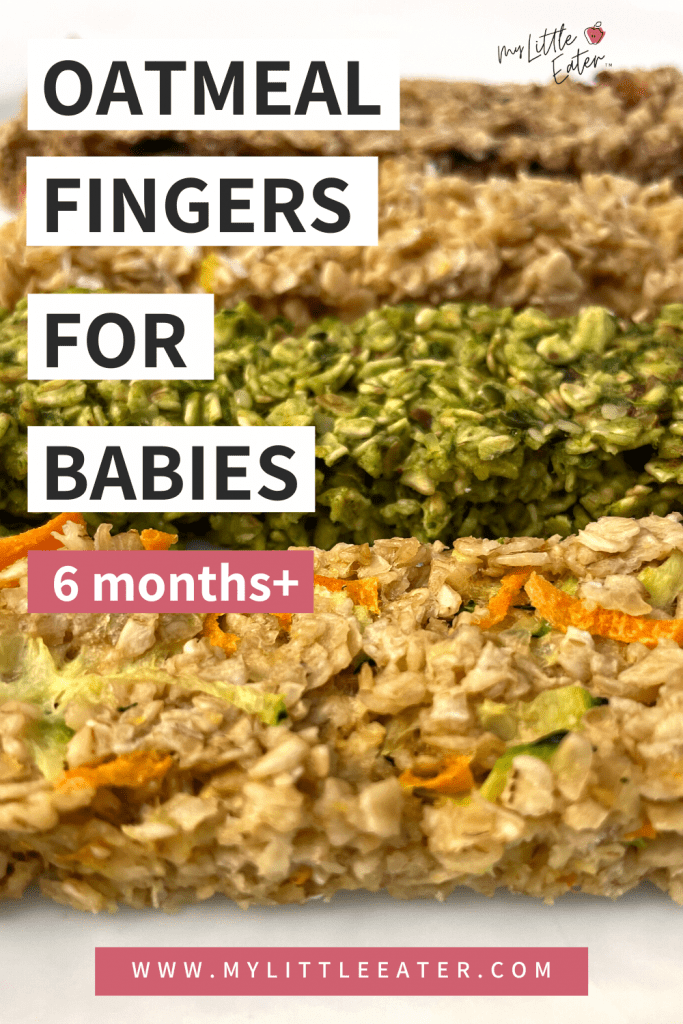
With oatmeal fingers, they’re shaped perfectly for a baby to pick up – sturdy and able to hold its shape, long enough to poke out of baby’s hands so they can get it into their mouth, and soft enough as a first food for your baby!
Since discovering these, I’ve experimented with a variety of different recipes – all so good! I’ve included some of my favorites in my 60 day baby led feeding meal plan, but for now, I thought I’d share the basic recipe here for you and let you experiment with any flavors and ingredients you have at home.
When Can I Offer My Baby Oatmeal Fingers?
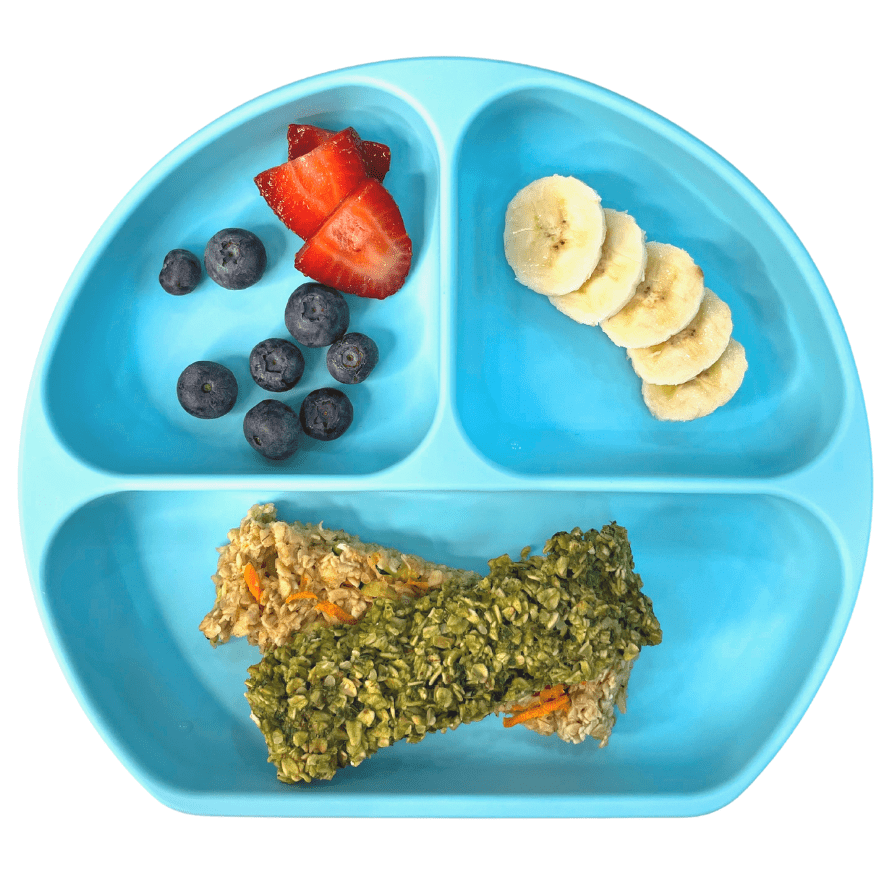
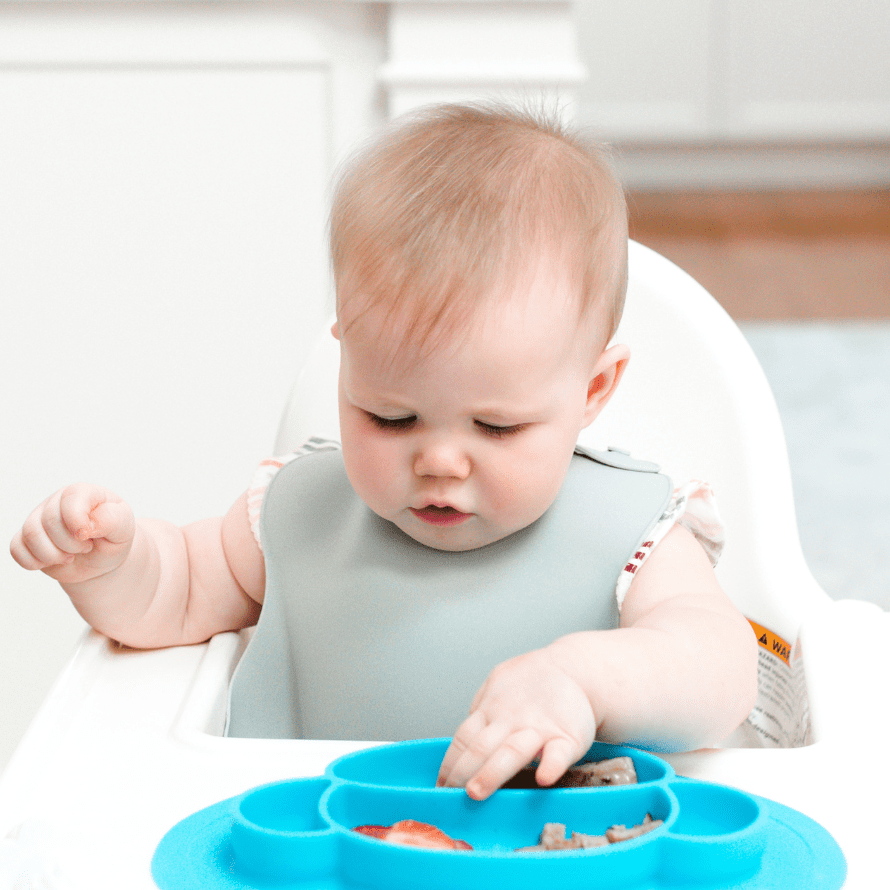
The quick answer is that oatmeal fingers are safe to serve with baby led weaning as soon as your baby is ready to start solids – they could even be their very first food!
Oats are packed full of nutrients and a great source of energy for your baby. Oats contain minerals like calcium, iron, zinc, phosphorus, potassium and magnesium that are all essential for development. Oats are a great high fiber baby food, which is beneficial for digestion and promotes proper bowel movements, without being too harsh on their digestive system.
Babies are ready to start solids around 6 months of age – however, every baby is unique and may not show all readiness signs for starting solids at the age of 6 months. It could be a couple weeks before or after, but it’s less about age and more about what your baby can do!
Check out my blog on the best time to start solids (based on signs of readiness) for updated recommendations, and a full list of developmental signs to check off before your baby begins.
What’s the best type of oatmeal for baby?
You may be wondering if quick cook oats vs rolled oats vs steel cut oats are better for making baby oatmeal fingers. Basically, quick cook oats and baby oatmeal actually both start off as old fashioned rolled oats, but they’re chopped into much smaller and thinner pieces! So, any of these options should work for this recipe, but they will provide different textures for your oatmeal fingers.
The old fashioned rolled oats will provide a more chewy texture, compared to the quick oats, which will provide a smoother texture, not as chewy. If you’re just starting your baby led weaning journey, using quick cook oats may be the best option!
It’s important to note that some instant oats are highly processed and contain high amounts of sugar. It’s best to avoid giving your baby instant oatmeals sweetened with sugar, so be sure to check the nutrition facts table on the products you purchase! The best option is to buy plain old, regular oats for your baby, and add your own natural flavors from fruits, vegetables, and spices.
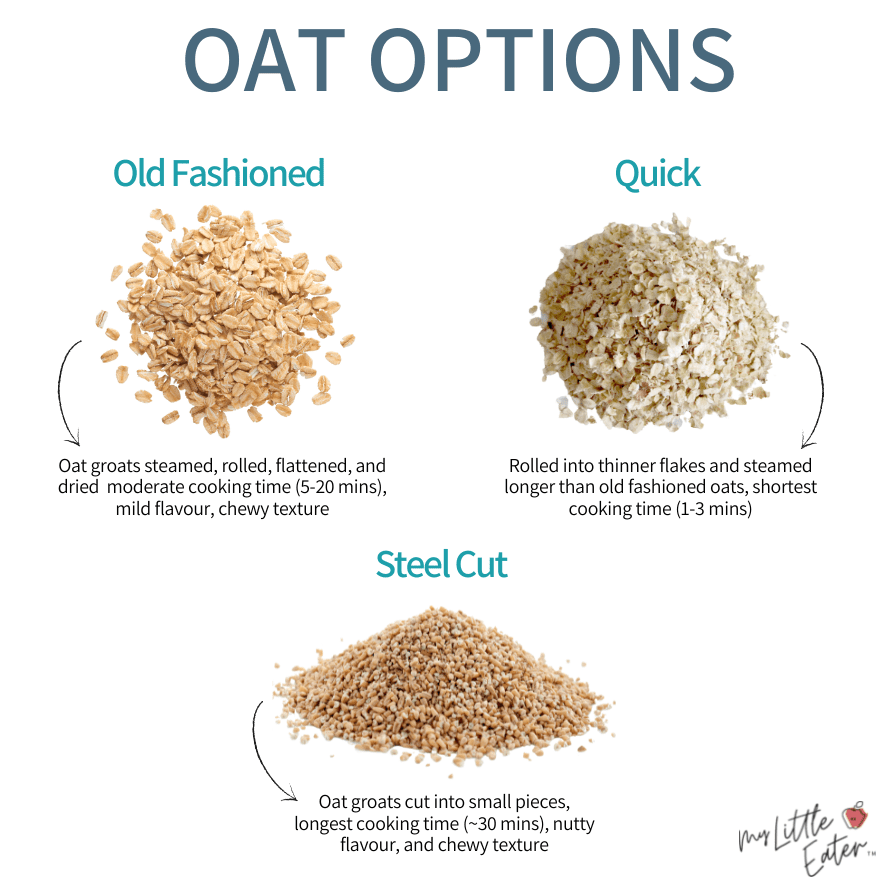
Steel cut oats are not recommended until approximately 10 to 12 months of age, due to the harder texture. They’re also not recommended for this recipe as they take much longer to cook and do not provide the same texture as old fashioned or quick oats.
Baby Oatmeal vs. Regular “Adult” Oatmeal
Did you know that there’s really no need for baby oatmeal cereal (or any infant cereal) at all? I mean, you can still offer baby oatmeal cereal, but it isn’t the only option. Starting around 6 months of age, you can offer regular “adult” oatmeal as well!
The reason for offering infant versions of any cereal, including rice cereal, oatmeal cereal or any other type of cereal, such as mixed grains, etc., is because they’re fortified with iron, a very important nutrient for babies. But, if you’re offering baby 2 sources of high iron foods per day, there’s no need to rely on infant cereals for iron (especially if you’re formula feeding). And there’s no danger from a nutritional or choking perspective if babies eat oatmeal cereal marketed for adults.
Disclaimer! If you prefer to offer your baby high-iron baby oatmeal, specifically for infants, you’ll have to do a trial run as this oatmeal fingers recipe hasn’t been tested with baby oatmeal cereal. (It also wasn’t tested with any homemade oatmeal cereal recipes, so if that’s something you make, you’ll need to test it!)
It’s recommended that you prepare baby oatmeal with milk (not water), as babies need lots of calories, fat, and nutrients for optimal growth. Breast milk or formula are both great options when preparing oats for babies, as well. As your toddler grows and no longer drinks breast milk or formula, you can use any milk of choice to prepare your oatmeal fingers.
Ingredients For Oatmeal Fingers For Babies
All you need for these super simple oatmeal fingers are two basic ingredients: oats and milk. The other ingredients are optional, and you can use whatever you already have on hand!
Oats
Quick oats, or instant rolled oats, are recommended as they provide the best texture (not too hard and not too mushy), have a short cooking time, and are extremely versatile. Keep in mind that the cooking time for oats will differ for each microwave. Steel cut oats are not recommended for this recipe, as mentioned above.
Milk
You can choose breast milk, formula, dairy milk or your favorite plant-based milk. If you’re unsure of what type of milk to choose for your baby, check out my blog on how to choose the best type of milk for your baby and toddler. This blog includes a nutritional comparison of various types of milk, detailed descriptions, and suggestions!
Also, please remember that cow’s milk, and some plant-based milks (like almond and soy) are all top allergens. Therefore, if this will be your baby’s first food, or first time with that allergen, be sure to offer that same allergen the following day to rule out any reactions. Read my blog on introducing allergens for all the nitty gritty details!
Fruits & Veggies (optional but provides more nutrients and flavor!)
Anything you have on hand will do for these oatmeal fingers for babies, but this is an excellent opportunity to add in some high fiber foods for your baby or toddler. Some of the best fiber rich foods for toddlers can be found in brightly colored fruits and vegetables. The options really are endless, so have fun with different flavors and combinations!
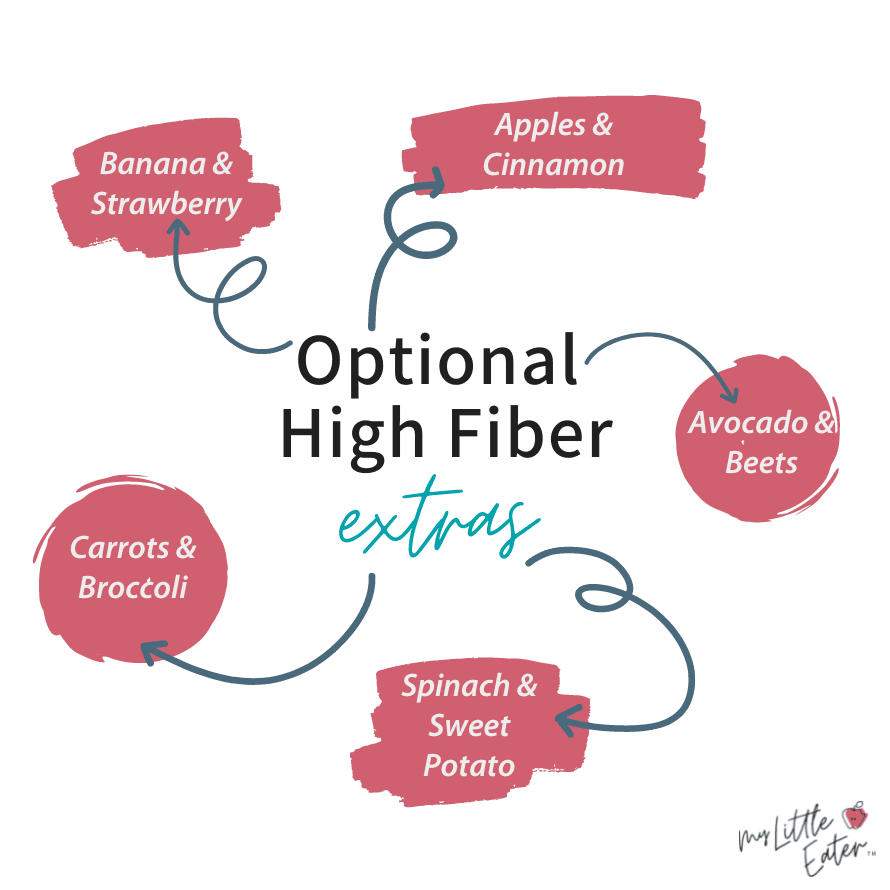
Spices (optional but exposes your baby to new flavors!)
I always recommend adding spices to your baby’s food, right from the beginning. Adding spices to your oatmeal fingers is a perfect way to expose your baby to new flavors!
Plus, exposing your baby to a variety of herbs and spices, at an early age, may help minimize picky eating as they grow. Check out this blog to learn about why I recommend adding spices to your baby’s food!
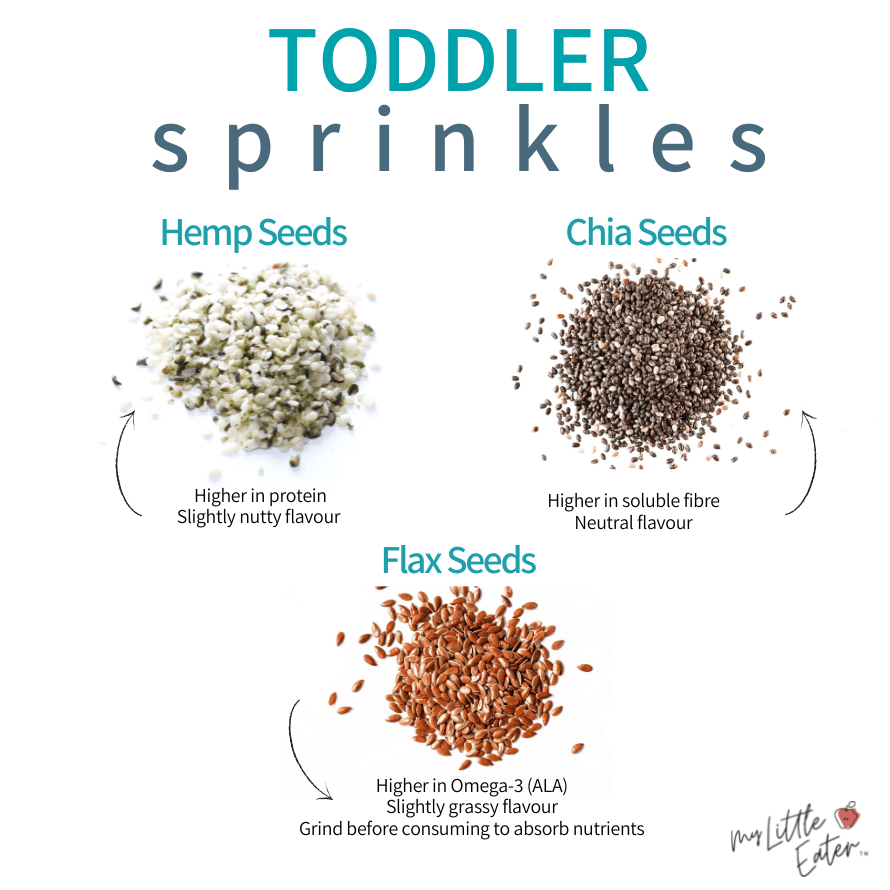
Super seeds (optional but adds a nutritional boost!)
Hemp, flax and/or chia seeds, provide excellent nutritional boosters to this simple snack or breakfast for babies. Adding seeds to your oatmeal fingers will provide your baby with fiber, omega-3’s, iron, and many more nutrients! Seeds are a great high fiber food for kids, and they’re a natural way to prevent constipation for babies and toddlers – thanks to their abundance of fiber!
Check out my podcast on the nutritional power of super seeds for your baby and toddler to learn more! In this episode, I chat with some special guests – the founders of Tiny Sprouts Foods! Tiny Sprouts has formulated seed mixes for babies and toddlers to help them meet their nutritional needs.
If you want to try some of these amazing super seed blends, check them out here and use the code MYLITTLEEATER to get 10% off your purchase!
BLW oatmeal fingers aren’t just for babies!
Do you have a picky eater on your hands? The endless variations of flavor combinations, and the fun colors you can make oatmeal fingers with just a few ingredients, make this baby breakfast perfect for toddlers and picky eaters too!
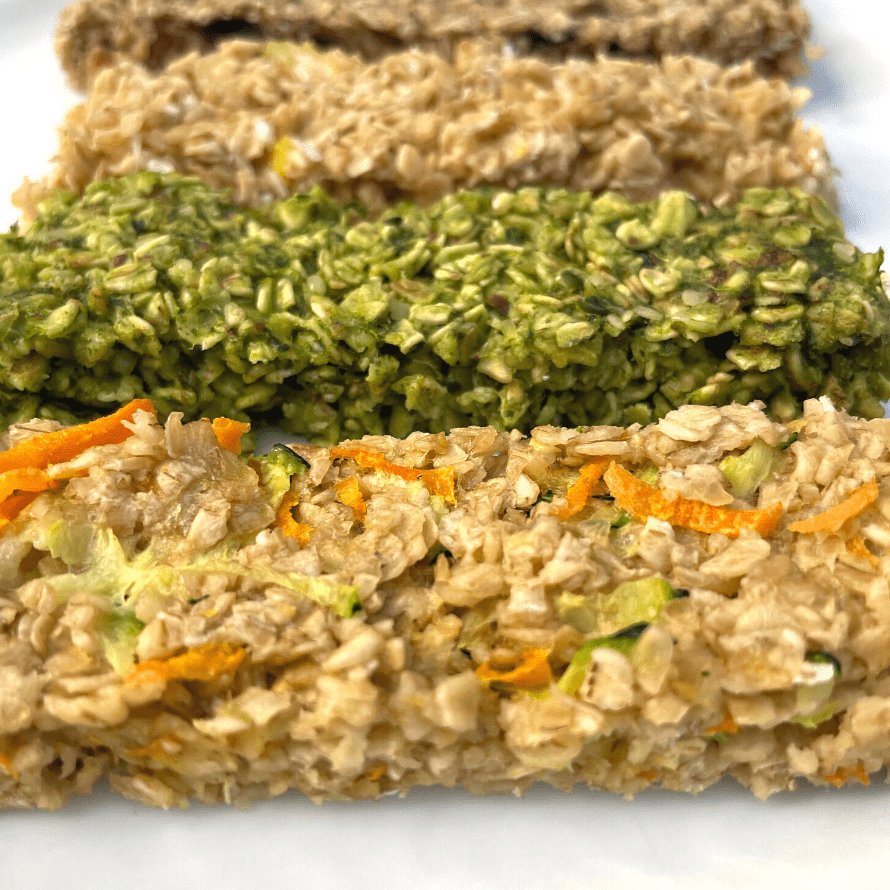
We get it. We know it can be frustrating, and time consuming, to offer a picky toddler new snacks. You may avoid offering new snacks because you don’t want your toddler to take one bite and waste the rest. But that’s why oatmeal fingers are so great! They’re so quick and easy to prepare (minutes!) that if your toddler rejects them, you at least haven’t wasted tons of time in the kitchen. Then, the next time you prepare oatmeal fingers, you can try a different variation that your toddler may love!
They’re also perfect for helping toddlers who already love basic, bland cereals, or traditional oatmeal bowls, expand the types of foods and flavors they eat. This is achieved through a concept called food chaining, where you take a food your child likes, and modify it slightly so it’s a little different…but not too different!
So in this case, you’re changing the way it’s presented (shape) from a purée to a finger food format! You can also take a plain oatmeal finger, and ever so slightly change the flavor by adding in a mix-in like a bit of fruit, such as mashed banana, or hemp or chia seeds, or spices, such as cinnamon. Listen in to hear more about using the food chaining technique to overcome picky eating, here.
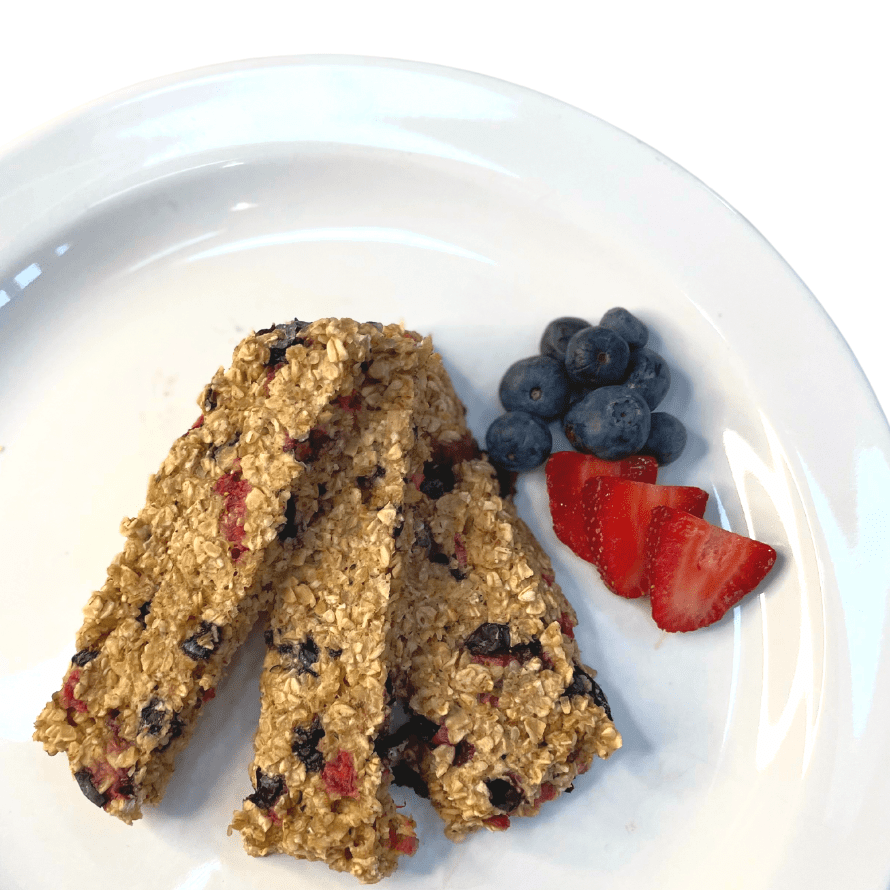
Plus, I have one more tip for you! Since they’re cut into the perfect “finger” shape, you know what that means…they’re perfect for dipping! Try serving your oatmeal fingers with applesauce or plain yogurt as a dipping sauce to add a little fun to your picky eater’s breakfast or snack.
For a complete plan on how to prevent or overcome picky eating in toddlerhood, and beyond, check out my Feeding Toddlers online course!
Why You’ll Love Baby Oatmeal Fingers too!
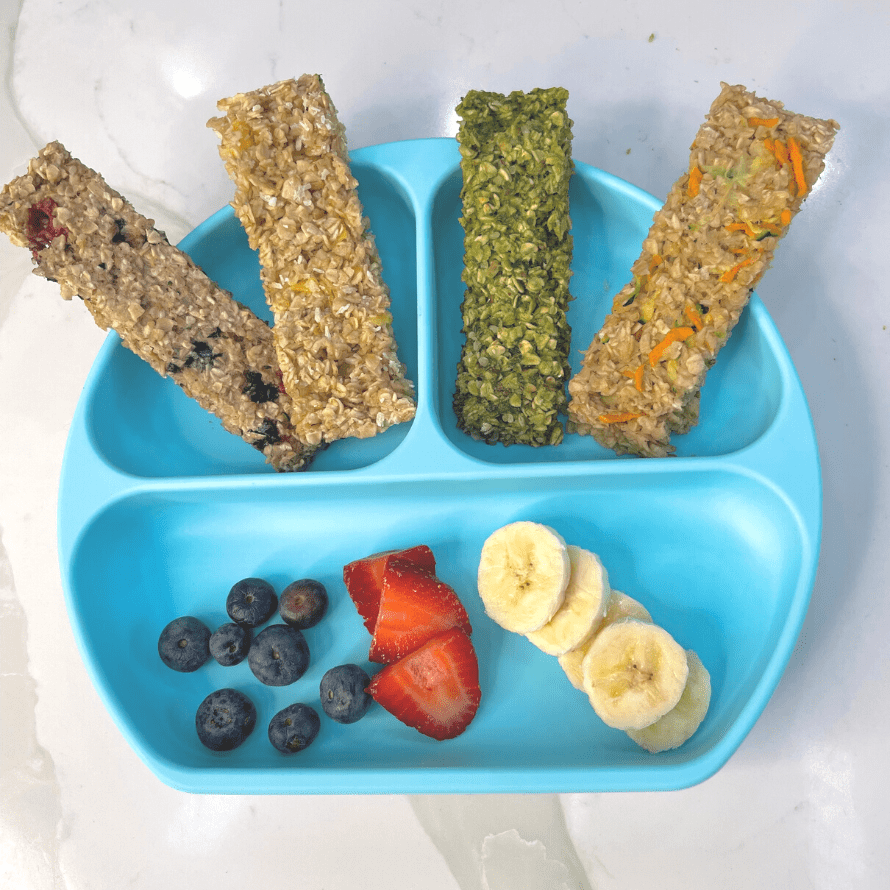
- Super fast and easy to prepare, nutritious, and delicious!
- Inexpensive ingredients that can provide your baby with iron and fiber!
- Modifiable based on the baby’s preferences, allergies, or sensitivities.
- Exposure to new textures, flavors, and food experiences.
- Easy for your baby to pick up, hold and self-feed, the baby led weaning way, unlike traditional methods of serving oatmeal for babies.
- A perfect travel snack for anytime or place, or a quick, nutritious breakfast for an impatient, hungry baby!
Baby-Friendly Flavor Combinations!
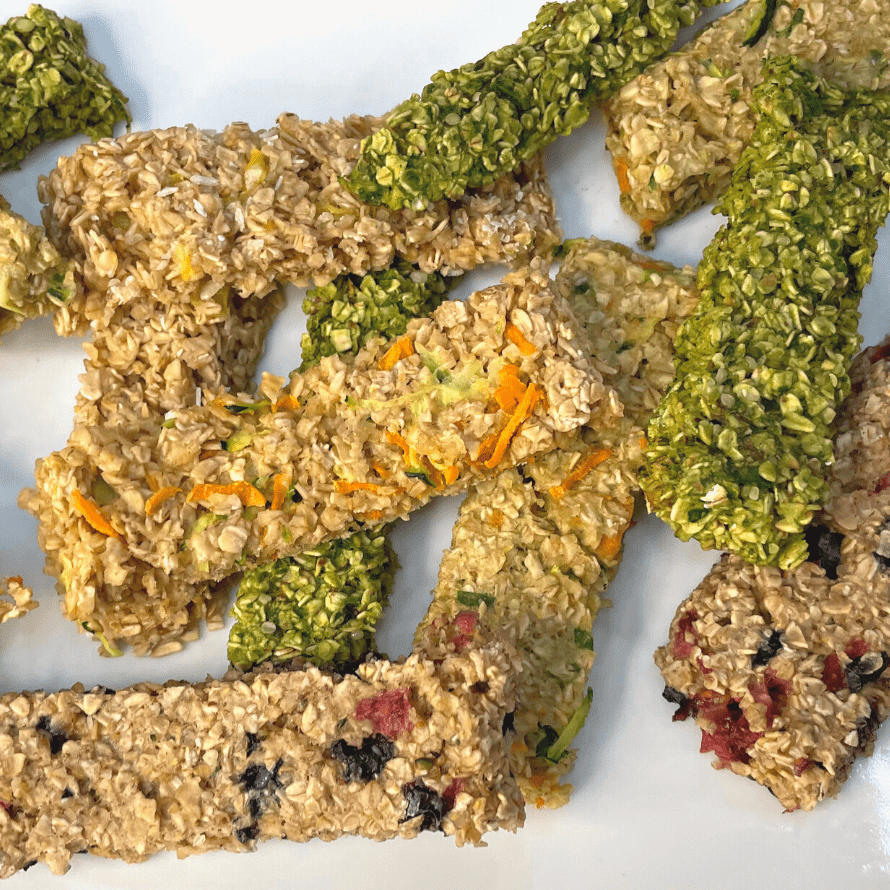
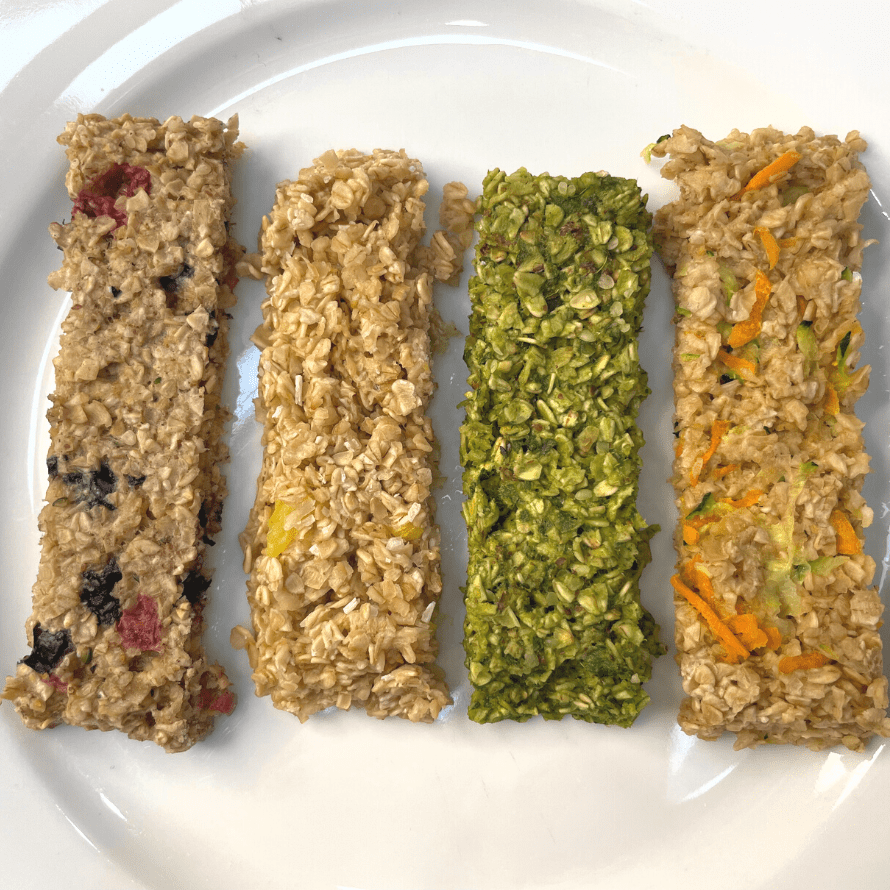
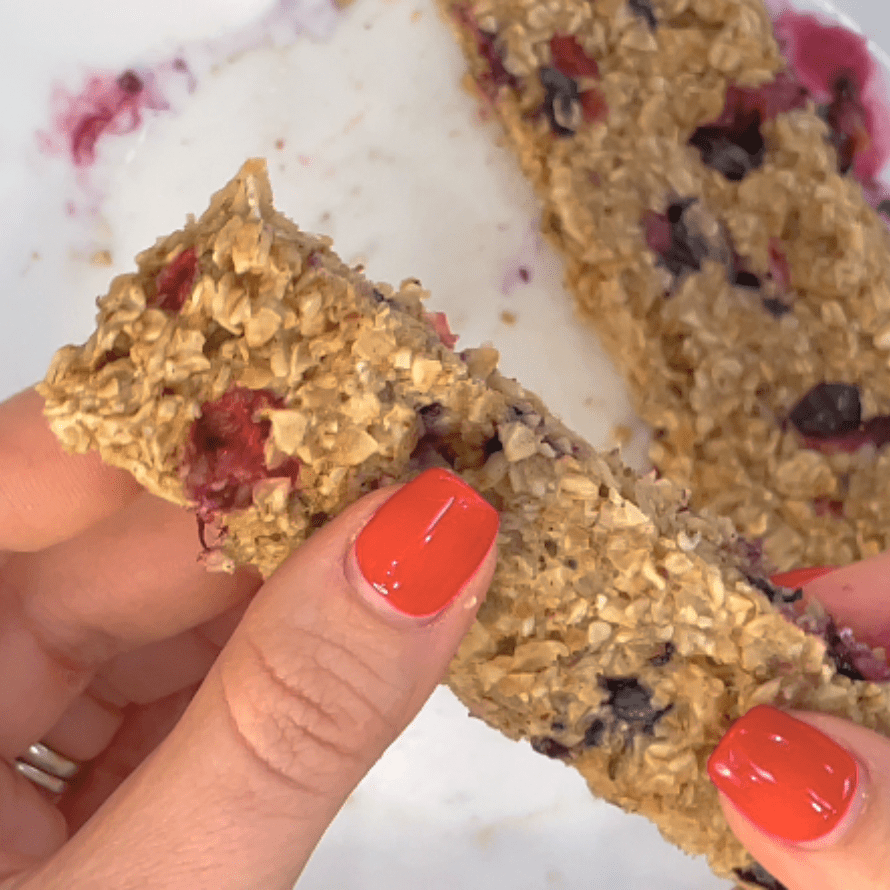
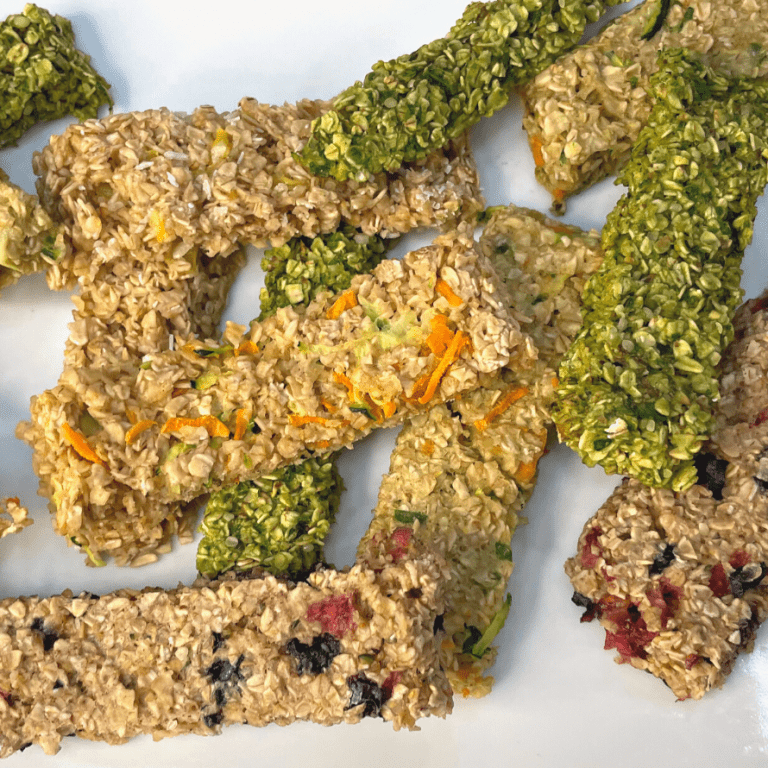
- Mixed Berry (strawberries/blueberries/raspberries)
- Pineapple & Coconut
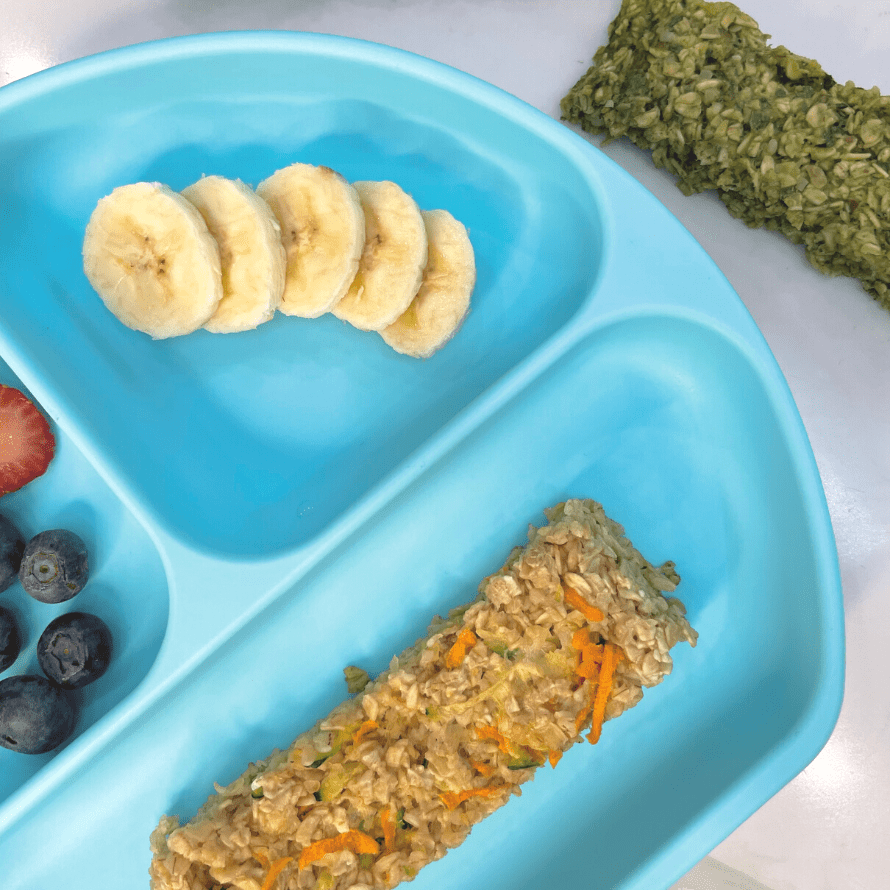
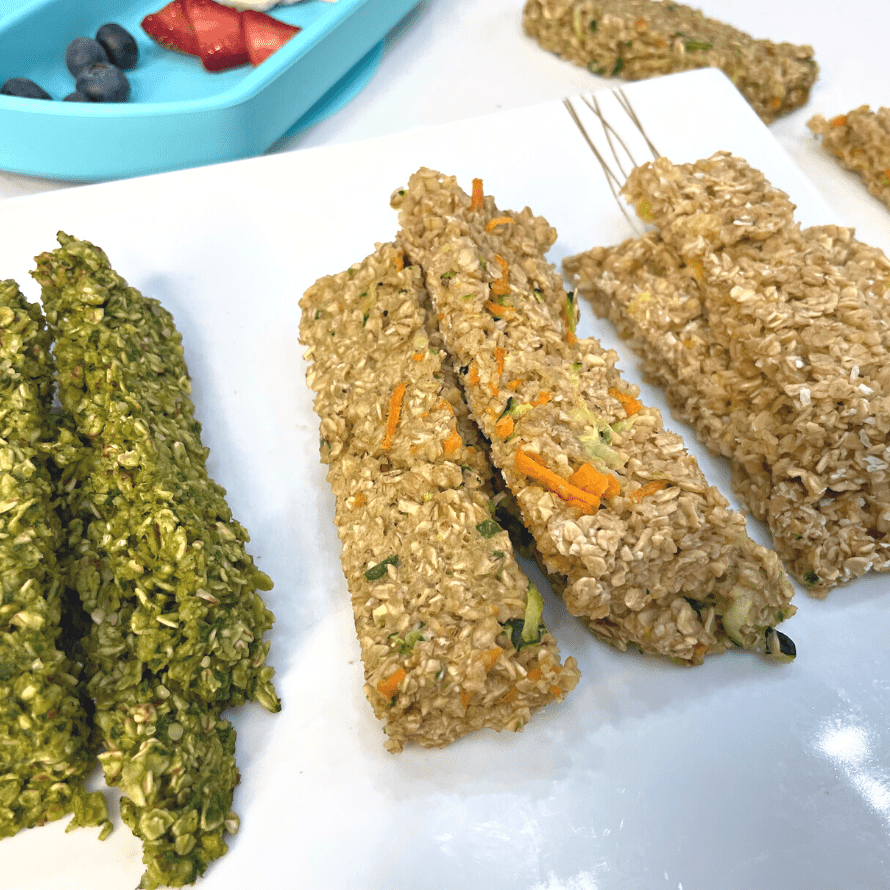
- Carrot & Zucchini
- Spinach & Banana
- To achieve a bright green oatmeal finger, add ⅓ cup of milk, 1 tablespoon of banana, and 2 tablespoons of fresh spinach to a blender, then add mixture to ½ cup of quick oats
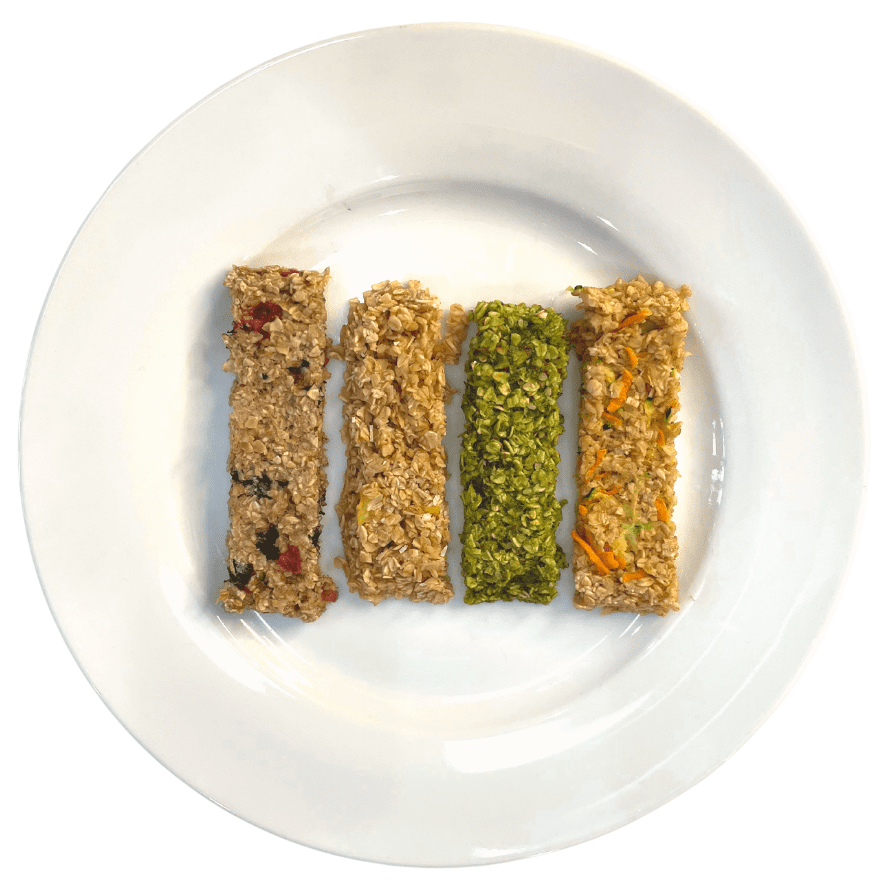
Time To Learn How To Make This Delicious Snack!
This is probably the easiest, most versatile recipe you’ll ever make, and there’s a pretty good chance you’ll always have oats and milk on hand to make it!
This recipe will yield 3-4 fingers, per batch. I like to cut them so they are just 2-3″ long – long enough for your baby to hold but not too long that they break apart easily.
You can store them in an airtight container in the fridge as leftovers for about 3 days. If you’d like to soften them up a bit before serving again, you can soak them in a bit of milk in a bowl for a few seconds before re-serving.
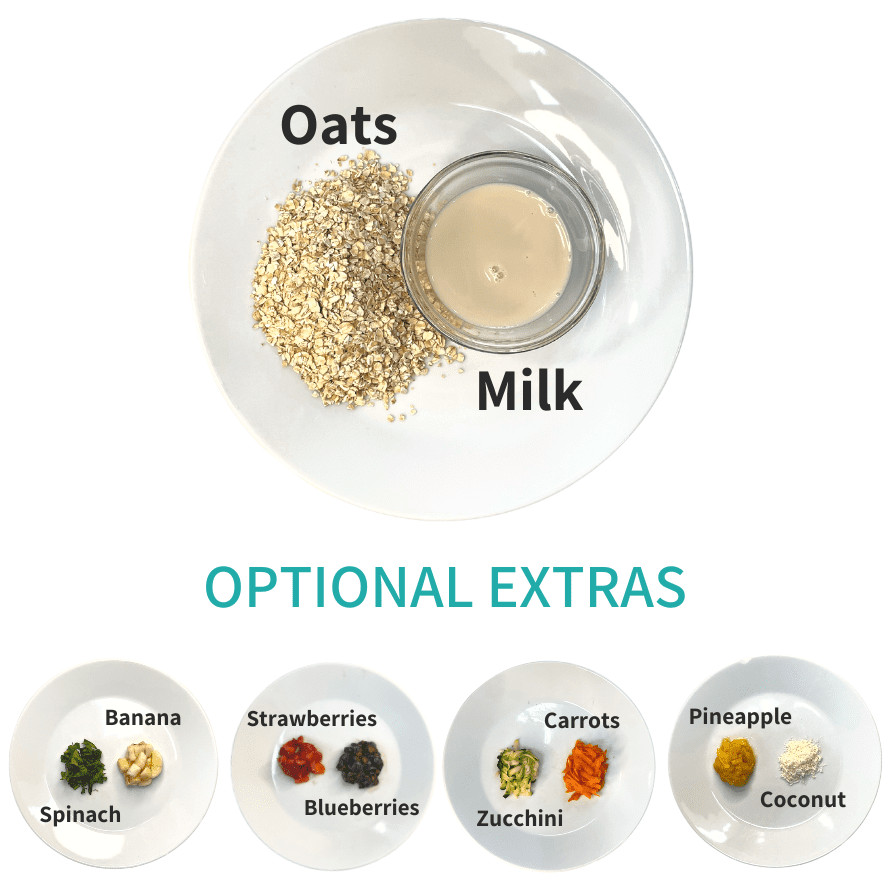
Step one:
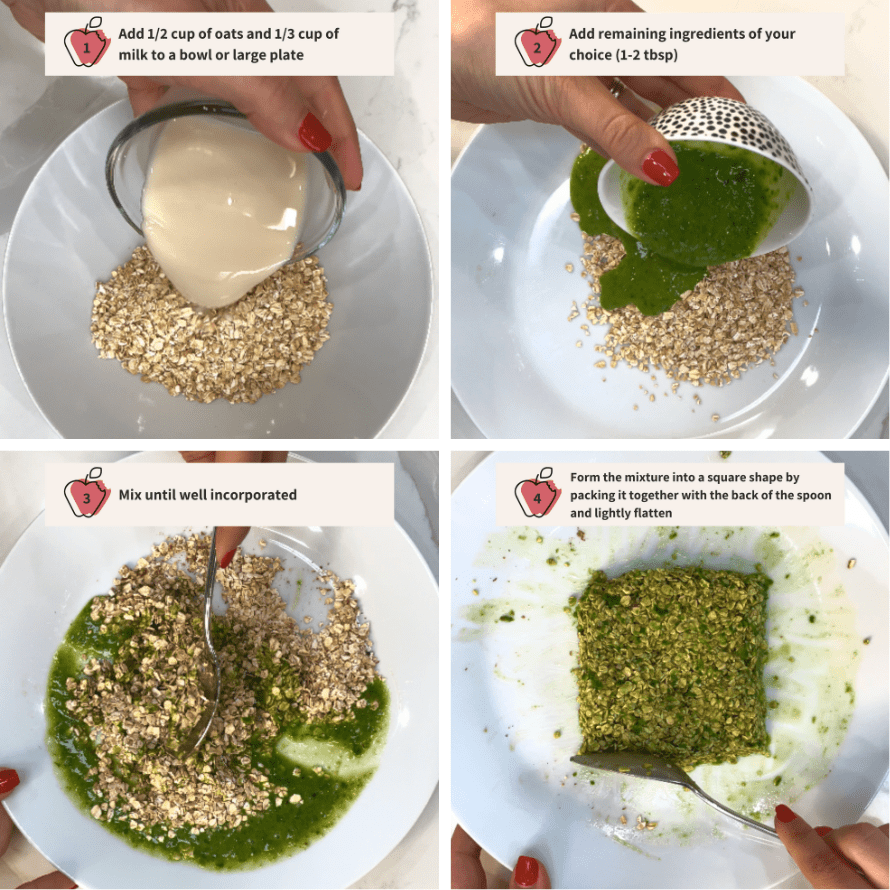
Start by measuring out and preparing your ingredients. Then, together in a bowl, or on a large plate, add oats and milk.
Step two:
This is the fun part! You get to decide what goes into your baby’s oatmeal fingers. Be creative, and feel free to share your flavor combinations with us, we’d love to see them!
Step three:
Mix all of the ingredients together until they’re well incorporated. You’ll want your ingredients to be spread out evenly in each of your oatmeal fingers.
Step four:
On a flat plate or microwavable dish, lightly flatten the oatmeal mixture with the back of a spoon onto the plate. Pack it together well, creating a square shape that will be thick enough to cut into fingers.
Step five:
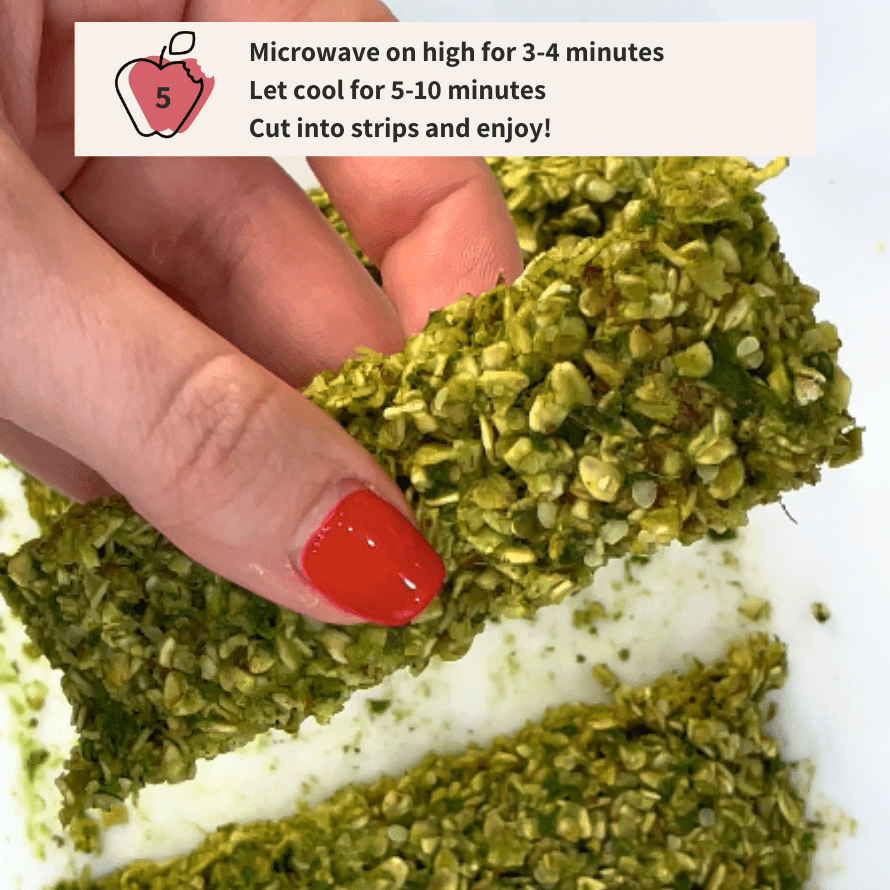
Microwave on high for 3-4 minutes (cooking times will differ for each microwave). You should check them after the first two minutes to see if the mixture is cooked and is firm enough that everything is bound together.
Note: it will firm up more after cooling, so don’t let it dry out too much!
Let the square-shaped oatmeal mixture sit and cool for 5-10 minutes, then cut into fingers! The longer it sits to cool, the more sturdy and firm the oatmeal fingers will be.
Tips and Tricks for Getting the Perfect BLW Oatmeal Finger!
Tip #1: Depending on if you’re adding an add-in with higher water content (ie. berries) or not, you may want to reduce the amount of milk slightly, or increase cooking time.
Tip #2: If you find it sticks to the plate, place a piece of parchment paper on the plate before spreading the mixture over it. Once cooked, slide the parchment paper over on a cooling rack, let sit to cool, and then flip the parchment paper over and peel it off the oatmeal fingers.
Have you tried these before? What are your favorite flavors? Give the recipe 5 stars if you loved it and let me know your fav flavor combination in the comments!
And don’t forget about my 60 Day Baby Led Feeding Meal Plan – get over 80 recipes to try out when starting solids! Follow along with the plan to strategically introduce allergens, advance your baby in textures, and ensure all nutrient needs are being met. The plan is also perfect for the whole family – the recipes are delicious and designed to be able to serve to everyone in the household – picky toddlers included!
Easy Baby Led Weaning Oatmeal Fingers
Equipment
- 1 plate (microwave-safe)
- Microwave
Ingredients
- ½ cup quick cook oats
- ⅓ cup milk of choice (breastmilk, formula, dairy milk or alternative)
- 1-2 tbsp favourite mix-ins
- spices to taste
Instructions
- Measure out and prep your ingredients.
- Combine oats and milk in a bowl or on a large plate.
- Add in your favourite mix-ins, and mix well until ingredients are incorporated throughout.
- Lightly flatten mixture onto a microwave-safe plate, and use the back of a spoon to form it into a square, packing it together well.
- Microwave on high for 3-4 minutes, checking after 2 minutes to see if it is cooked through and firm enough to remove. Please note that it will continue to firm up as it cools, so don't let it dry out.
- Set aside to cool and continue to firm up for another 5-10 minutes. Cut into finger shapes and enjoy!
Video
Notes
Love it? Pin it to save for later!
